When you spend years in front of the grill, you learn a thing or two. For example, never wear shorts on a foot truck when you're working the flat top, because those burners are exactly thigh-level. Or, you should always have a stainless steel bowl nearby, because nothing melts cheese on a burger faster than a heat dome.
However, these are merely suggestions and neither are essential rules for becoming a grill master. Experience is the best teacher when it comes to cooking. This is what I've learned during years working the grill line on food trucks and in full-service restaurants.

My skill grew from a 48-inch griddle to a full-burner charcoal grill, until I was flipping filet mignon in Long Island's Hamptons as a private chef. Whereas the Hamptons allows no room for error, the same is not true of the home cook. Without a doubt, your margin of error will be equally as small if you keep these vital grilling tips in mind.
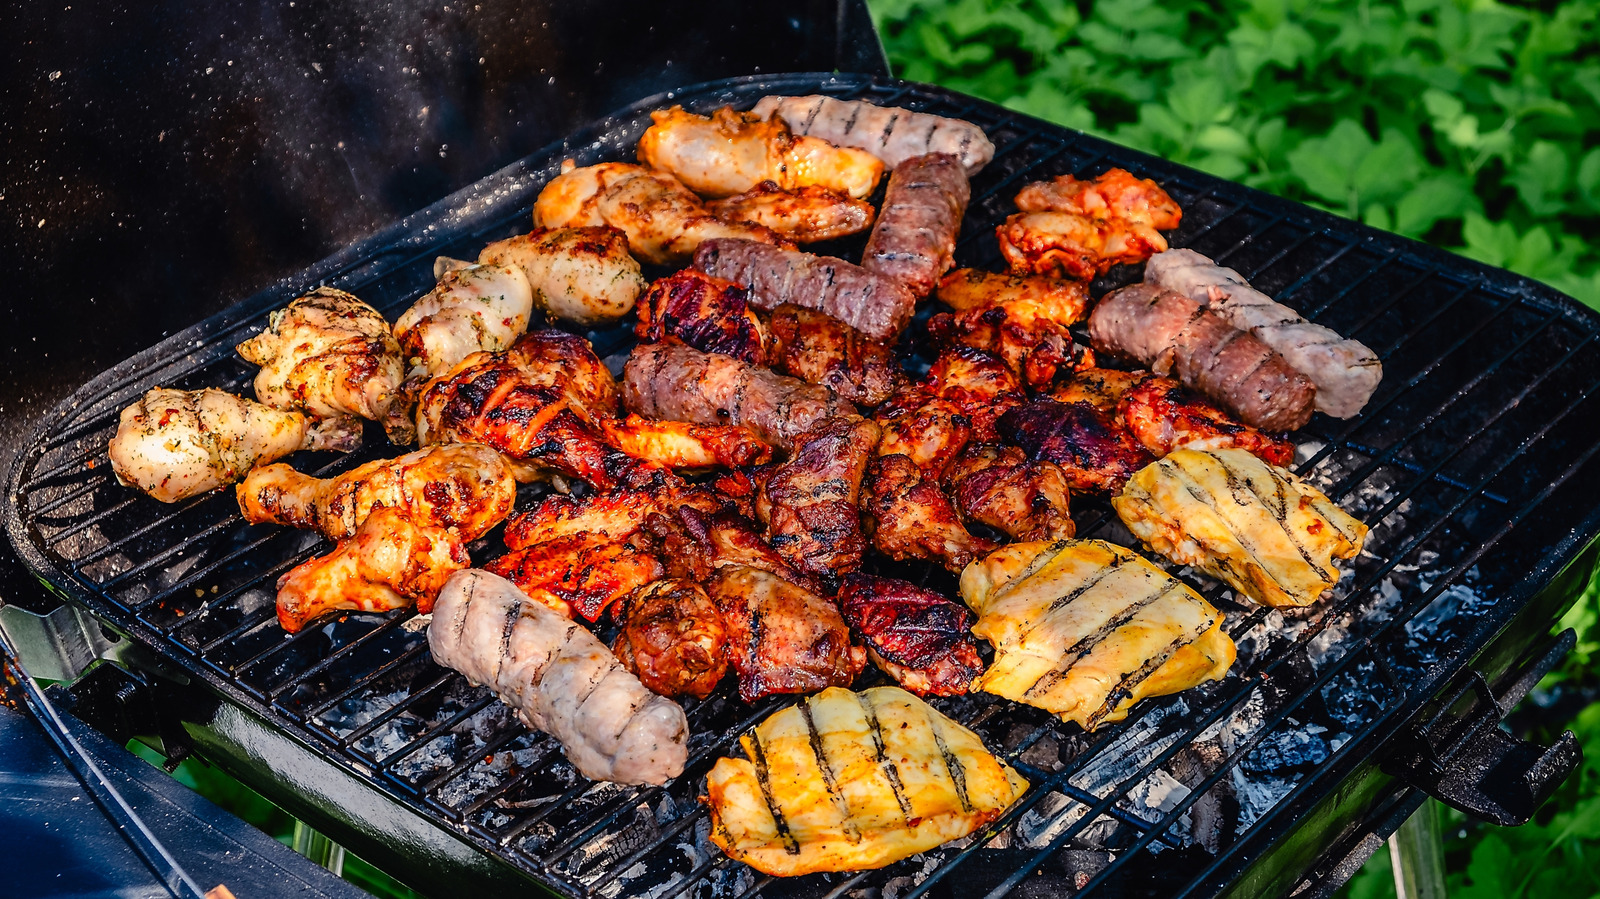
There are four core basics to master when those summer days are calling you to ready the grill : Don't burn your meat, learn the right tools, care for your grill surfaces, and respect cooking temperatures. Here's how you can master all four while showing off a little grill superiority at your next BBQ. 1.
Mise En Place Applies to Grilling French for "everything in place," mise en place is one of the first things any professional chef learns. Professional or not, this is one of the most valuable tools any cook has in their arsenal besides knife safety. Having everything in place means creating order according to a recipe.
For grilling, this could mean chopping and seasoning vegetables beforehand, preparing fresh herbs, trimming or seasoning meat, and building marinades or spice blends. This is also the time to gather the tools you'll need so there's no mad dash to find them later. Mise en place is equally important regarding food safety.
Prep work usually involves raw prep and non-raw prep. Non-raw includes getting vegetables ready to grill, prepping the sides or salads, and creating flavor blends. All of this should be done either before raw prep, or at a separate station.
Raw prep includes trimming or butchering meat, seasoning or marinating, and allowing cuts like steak to come to room temperature before grilling. Dividing prep this way prevents cross-contamination, and also removes the step of cleaning one surface before moving to non-raw prep. Of course, you should always clean as you go, but maintaining a prep order that makes sense provides extra reassurance.
It also makes cooking much easier once the initial prep is out of the way if everything is within arm's reach. 2. A Clean Grill Has the Most Flavor It's a myth that dirty grills add extra flavor.
You wouldn't leave a dirty cast iron pan laying around, so why do the same for your grill? Even cast iron requires proper seasoning, but only after it's been properly cleaned. A clean grill provides a fresh canvas. Food will always cook faster and more evenly on a surface that's devoid of any debris or char.
Sure, heat kills any bacteria that's harbored by a dirty grill, but for the sake of quality cooking, it needs to be cleaned properly first. Charcoal grills should be cleaned after every use with a wire brush or a ball of aluminum and tongs. This is best done while the grill is still hot immediately after cooking, which will loosen food debris.
You should also deep clean your grill once or twice a month by soaking the grates in a solution of vinegar or dish soap and water. This prevents further buildup and maintains the integrity of your grates. For flat top grills such as the Blackstone griddle, a soft scrubber, water, and heat are all you need.
Doing this while the grill is still on is the most efficient way to loosen debris. Professional tip: Spray down the grill occasionally while cooking and use a bench scraper to scrape off burnt food. This makes cleaning easier when you're finished and keeps food flavors from mingling if you're cooking multiple things.
To deep clean a griddle, a grill brick can be used to remove rust buildup before adding oil to re-season the flat top. 3. Remember to Burn Off Extra Oil Grills start to smoke when there's remnants or debris that need to be cleared.
I've learned the instinct of most people is to shut the grill off, wipe it down, or deep-clean all over again. Rather than making that mistake while grilling , it's better to listen to the smoke signals your grill is giving you. If it's smoking, that means something is burning and, in this case, it's a good thing.
Turning up the heat and allowing flames to break down debris is called the burn-off method. To do this, simply turn the burners to high and shut the grill lid for at least 15 minutes. By that time, anything that was causing smoke should be reduced to ash or well on its way.
Cleaning the grill grates will be easier, and you can re-season them with oil that has a high smoking point, such as canola or vegetable oil. 4. Create Low and High Heat Zones I've helped many people realize they have more control over a charcoal grill than they think.
Creating multiple heating zones is the best way to avoid overcooking food. For charcoal grills, creating zones is a matter of moving coals or wood chips from one side of the grill to the other. The side with the most fuel becomes the hotter cooking surface, fed by direct heat.
The side with few to no coals is fed by indirect heat, making it the low-and-slow cooking zone. This opens a range of options for cooking multiple foods. Vegetables can be charred on one side, or cooked slowly on the other.
Steak can be quick-seared on the side with direct heat, and then placed in the low-heat zone to finish cooking. Fish can be cooked from start to finish in the indirect heating zone to avoid dryness. You can even rearrange coals according to the size and shape of your grill.
One variation might be three heating zones with a medium-high temperature in the center. Or, you can create multiple hot or low heating zones separated by a high-heat zone down the middle. Direct and indirect heat provide options, and all it takes is a bit of rearranging according to what you're cooking.
5. Thermometers Eliminate the Margin of Error When it comes to checking the doneness of a cut of meat, there are a variety of methods. One method of checking steak is using the palm of your hand.
A well-done steak has a similar texture to that of your palm when touching your pinky finger to your thumb. In contrast, a rare steak feels similar to your palm when touching your index finger to your thumb. This is a good method for seasoned chefs, but not one I'd recommend for the home cook.
The only accurate way to determine if meat is cooked through is with a thermometer. Numbers don't lie, and a digital-read probe thermometer is the best for the job. There was never a day at the grill when I was without at least one thermometer in my pocket, if not several.
Some thermometers even have probes that can be left inside meat while it cooks, ensuring that you know exactly when it hits a temperature target. According to FoodSafety.gov , these are the temperatures in Fahrenheit to remember: Steak: 125 degrees for rare,135 for medium, and 160 for well-done.
Chicken: 165 degrees Pork: 145 Fish: 145 The temperatures above kill food-borne pathogens, although rare doneness still carries some risk. Professional tip: If you plan on letting meat rest before serving, you can pull it from the grill about 5 degrees Fahrenheit shy of the target temperature. As it rests, the temperature will continue to go up, so be sure to temp it again after five minutes or so.
6. Ignore Intrusive Thoughts, Let Each Side Cook Before Flipping There's some debate regarding how often you should flip meat while grilling, so let's settle it. The trick to getting those perfectly aesthetic sear marks is to flip your food once over high heat.
For fancy diamond marks, grill it at a 45-degree angle, and then rotate it 90 degrees on the same side. The temperature must be high for this, otherwise the sear will be nothing but a dull, disappointing indentation. Similarly to the urge to click tongs a thousand times while standing at the grill, our desire to constantly flip meat is equally strong.
Instinct might cause you to move food around so it doesn't burn, but ignore the intrusive thoughts. Sear marks are intended to burn, which is why they stand out against a perfectly-cooked steak. you'll feel resistance if meat or vegetables aren't ready to be flipped during the searing stage, so leave them alone.
Once your grill has successfully branded meat or vegetables, it's safe to then move it to the indirect heat side of the grill. Here, you can flip it more as needed to ensure an even cooking rotation. That is, if you're still following these essential rules.
If not, well ...
good luck keeping sear marks and trying not to overcook that meat. 7. Know When a Food Basket Is Warranted Grill baskets have a mixed reputation among grill masters, but are the only way to keep veggies from falling through the grates .
They're easily be substituted with crude aluminum packages or skewers for chunky diced vegetables, but what about things like asparagus or sliced zucchini? The trick to using a grill basket is finding one that works for the shape and size of your grill. A basket that doesn't take up too much space and has openings for flames to still kiss your veggies is ideal. Wire baskets are the least intrusive on the grill and allow the most space between veggies and open flames.
However, stainless steel baskets are sometimes easier to handle at home and come in multiple sizes. They're also easier to clean and can hold small-diced vegetables. You'll still get some caramelization from hot stainless steel, but sacrifice direct grill marks.
Either way, it's better than losing vegetables to the forbidden ash lands at the bottom of your grates. 8. Not All Marinades Are Created Equally A common mistake I've seen — and made — is lacking regard to sugars in a marinade.
Grilling comes down to science, and science dictates that high levels of sugar will burn over an open flame. It also creates a sticky, charred mess that causes a world of frustration when it comes time to clean those grates. Luckily, there are ways to use sugar-heavy marinades while also reaching grilling perfection.
Anything with a high sugar content like brown sugar, honey, cane sugar, teriyaki, or sugar-heavy BBQ sauce runs the risk of burning when introduced to high heat. The best way to negate this is by applying sauces toward the end of cooking. You can also cook food on the indirect heat side of the grill while basting, which is a grillmaster's best friend.
This ensures meat won't leave the grill burnt with all that flavor lost. Thinner marinades and brines can cause flare-ups, which burn food and cause inconsistent heating. The simple solution is to wipe off extra brine before putting food on the grill.
9. Treat the Grill Like an Oven The lid of the grill should always be lowered. As impressive as it looks to keep the grill open while cooking food, this creates an unstable cooking environment.
A lid should only be left off when using a griddle. Think of a charcoal or gas grill like an oven: The more the oven door is opened, the more heat escapes. Eventually, this lengthens cooking time and affects oxygen levels, which are needed for charcoal to smolder.
Most grills have exterior thermometers which show the interior temperature of the grill, but not the temperature of the food itself. However, this is a good way to determine how much heat is lost each time the lid is opened. I've seen many a grill lose its flame from a gusty wind, and re-igniting coals in the middle of grilling is not a good time.
Trusting the process is a big part of even cooking and your guests will thank you for keeping that heat inside. 10. Salt Is Prep, Not Just For Finishing a Dish There are few foods that shouldn't be salted prior to cooking.
This all depends on a variety of factors like marination, brining, herbal seasonings, length of cooking time, and the cut of the meat. More often than not, however, salting is a necessary step. For steak, salting immediately before grilling is a method many chefs agree on.
Unless you're brining meat, avoid salting too far in advance, because this can draw more moisture out than necessary. Fish and shellfish also follow this rule, and should be salted just before grilling or right after. Salting adds flavor and draws some moisture from the top layer of meat, resulting in a crispy sear.
At the same time, it creates a protective barrier that encourages moisture retention. This process is diffusion, and salt gives us the power to direct moisture where we want it to be. The result is a perfectly seared piece of meat with a juicy interior and tons of flavor.
11. Spray Bottles Are Not Just for Fires Spray bottles are an underutilized tool by home cooks and contrary to popular belief, they have a purpose beyond quenching fires. Water on a hot surface creates steam, which melts cheese on burgers, adds heat to slow-cooking meats, and deglazes cooking surfaces.
Putting other liquids in a spread bottle like Worcestershire, thin marinades, or apple cider vinegar adds flavor and encourages caramelization. This is called "bark" and it adds a crispy, flavorful crust to the outside of steak and chicken. A squirt bottle is the better alternative for a griddle, and gives you more accuracy when aiming.
It also doubles as a tool to clean the grill when you're finished with little mess. Water in a spray bottle has the added benefit of battling flare-ups. These happen unexpectedly if a grill lid is left open or too much marinade drips below grill grates.
Then again, if you were following these rules, it probably wouldn't happen. 12. Use the Right Tools for the Job This seems obvious until I find someone stabbing a steak with a fork to flip it, because tongs are nowhere in sight.
You'll never find a meat fork anywhere near the grill in a professional restaurant. You'll find a spatula or tongs, but never anything sharp enough to penetrate. Meat forks often come with grill sets but are essentially useless, so you can put those aside for serving turkey on Thanksgiving.
Stabbing prongs into a cut of meat encourages moisture loss which creates a dry, juiceless result. It's tempting to use a fork or other pronged tool to flip meat, but it should be avoided in favor of allowing the meat to rest after cooking. Ten minutes is all it takes for freshly-grilled meat to absorb the juices that would have been lost to a fork, and you'll be grateful you used tongs to flip .
13. Know When to Sear Vs. Reverse Sear Searing meat means creating a hard crust on the outside.
The crust helps meat retain moisture and creates that juicy, tender interior we strive for. A quick introduction to high heat and a switch to the low-heat zone is all you need to achieve this. However, a reverse sear is the opposite.
It requires low and slow cooking on indirect heat before finishing with a quick sear. It can help to know the difference between the two and when each method is appropriate. The latter is more challenging and not necessarily home cook-friendly, but it can produce more tender results if done correctly.
More often than not, a regular sear will do the job just fine. A reverse sear is more common when cooking steak, because more indirect heat encourages even cooking. To do this correctly, you should pull the steak 15 degrees short of the target temperature to finish searing over direct heat.
Proper grill prep will help with both, such as setting up those heating zones! 14. A Chimney Starter Goes Hand-In-Hand With Charcoal Many people learn how to grill over charcoal , because it's affordable and lends that classic barbecue flavor. The addition of a chimney streamlines charcoal cooking while decreasing the time spent lighting coals evenly.
A chimney starter is nothing to be intimidated by, and makes the cooking process much easier. Using a chimney is as easy as lighting kindling such as paper (or lighter cubes on top of your grill grate), placing the chimney over top, and adding charcoal. When the coals are nearly white, they're ready to be emptied into your grill.
In the argument for grilling supremacy, more often than not, grill masters support this coal-lighting method. A chimney starter heats charcoal to one uniform temperature with the help of kindling, which takes about 15 minutes. This shortens the time it takes to preheat an uneven layer of charcoal or wood chips.
Additionally, lighter fluid can affect flavor, create flare-ups, and cause uneven heating zones. A chimney takes this out of the equation completely, while heating coals to the perfect starting temperature..


