 2 weeks Ago By Roland Hutchinson
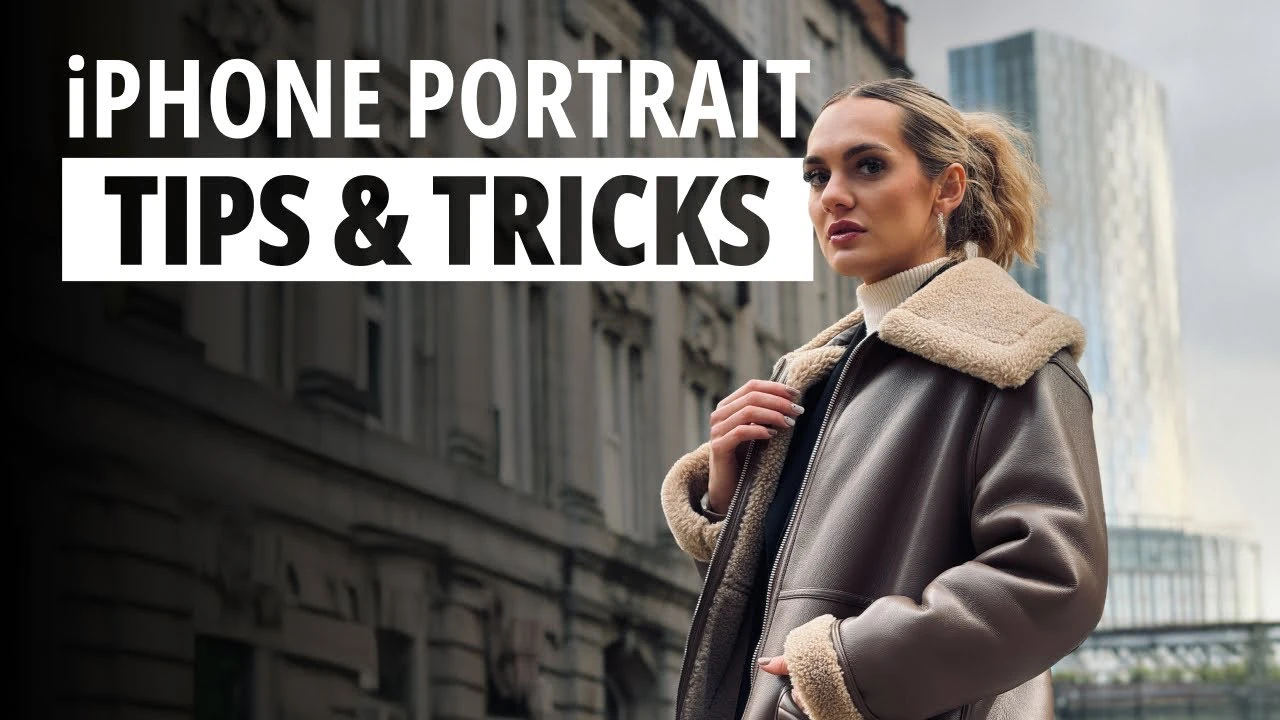
Capturing stunning portraits with your iPhone is easier than you might think. By understanding the key elements of portrait photography and leveraging the powerful features of your device, you can create images that rival those taken with professional cameras. The video from iPhone Photography School will walk you through the essential techniques for taking awesome iPhone portraits, from lighting and lens selection to using Portrait mode and editing your photos.
One of the most crucial aspects of portrait photography is . The right lighting can make or break your portrait, regardless of the camera you’re using. When shooting with an iPhone, it’s essential to seek out that gently illuminates your subject’s face.

Harsh direct sunlight can create unflattering shadows and highlights, so it’s best to avoid it whenever possible. Instead, look for or use diffusers to soften the light. Overcast days or the golden hours just after sunrise and before sunset provide excellent opportunities for capturing flattering portraits.
If you’re shooting indoors, position your subject near a window to take advantage of natural light, or use a reflector to bounce light onto their face. lenses offer a range of options for portrait photography. However, not all lenses are created equal when it comes to capturing flattering portraits.
, such as the 2x, 3x, or 5x options, are ideal for portrait photography. These lenses compress the background and maintain the subject’s natural proportions, resulting in a more professional look. On the other hand, wide and ultra-wide lenses can cause distortion, making your subject appear stretched or warped.
While these lenses can be used creatively, they should be used with caution when shooting portraits. If your iPhone only has a single lens, don’t worry – you can still capture great portraits by being mindful of your distance from the subject and the background. One of the most powerful tools for iPhone portrait photography is .
This feature, available on iPhones with dual or triple-lens systems, allows you to create a professional-looking blur effect, known as bokeh, in the background of your photos. When activated, Portrait mode uses computational photography to separate the subject from the background and apply a realistic blur. To get the most out of Portrait mode, keep these tips in mind: Ensure there is enough distance between your subject and the background for the blur effect to be noticeable.
Adjust the blur intensity to . Experiment with the artificial lighting options within Portrait mode to enhance your subject’s appearance. After capturing your photo, you can refocus and adjust the depth effect to fine-tune your portrait.
In addition to lighting and lens selection, there are several practical techniques you can use to make your iPhone portraits more engaging: Incorporate in your composition to draw the viewer’s eye toward your subject. Use the in Photo mode to see how your adjustments affect the final image in real-time. Capture depth information when shooting to allow for more flexibility in post-processing.
Remember that subtlety is key – avoid overdoing the blur effect or artificial lighting to maintain a natural look. Once you’ve captured your portrait, the editing process can take it to the next level. The iPhone’s built-in photo editor offers a range of tools for fine-tuning exposure, contrast, and color balance.
For more advanced editing, apps like provide a wealth of options, including presets that can enhance your portraits with a single tap. When editing, focus on making subtle adjustments that enhance your subject’s natural features without appearing overly processed. Pay attention to skin tones, ensuring they remain true-to-life and not overly smoothed or saturated.
By combining thoughtful lighting, appropriate lens selection, careful use of Portrait mode, and subtle editing, you can create iPhone portraits that stand out from the crowd. With practice and experimentation, you’ll develop your own unique style and take your iPhone portrait photography to new heights. Source & Image Credit:.