1 week Ago
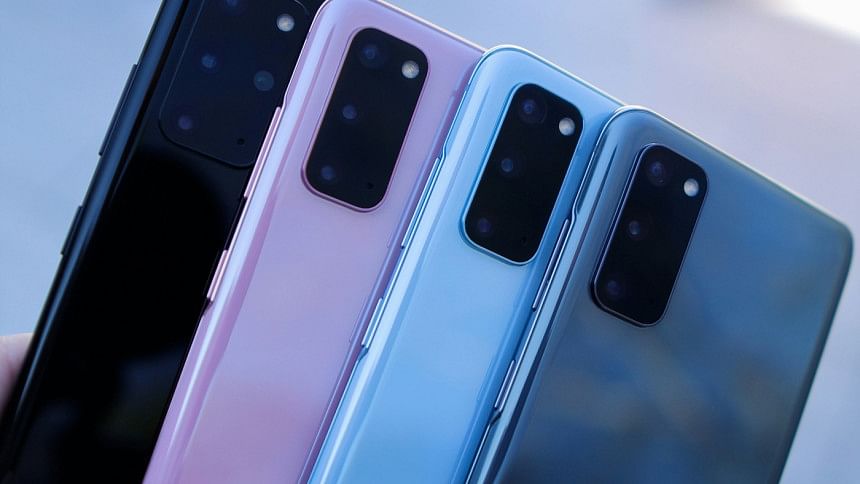
Samsung’s camera apps come packed with several useful features designed to enhance your photography experience. The preset filters are a popular choice, allowing users to instantly modify photos with adjustments to elements like saturation and contrast. But what if the available filters aren’t quite the fit for your specific needs? Samsung has you covered by offering the ability to create a custom camera filter based on an image from your phone's camera roll.
This feature allows you to mimic the colour tone and style of your chosen image, resulting in a personalised filter tailored to your preferences. If you’re ready to experiment with custom filters, the process is quick and simple. Here's how to create and save a custom filter on your Samsung Galaxy phone: Also read: Oppo F29 Pro Review: Polished performer that delivers where it matters How to Create a Custom Camera Filter on Galaxy Phone Step 1: Open the Camera app on your Samsung phone.

Step 2: Swipe to switch to Photo mode, the default mode for snapping pictures. Step 3: Locate the filter menu by tapping the three overlapping circles in the top-right corner of the screen. Step 4: Tap the plus symbol (+) next to the filter options to start creating a custom filter.
Step 5: Browse your camera roll and select an image to use as the basis for your custom filter. The image will serve as the reference for the filter’s colour scheme and style. Also read: iPhone 17 Air vs iPhone 17 Pro Max: Leaked image reveals notable difference in thickness Step 6: Once selected, the camera app will display a preview of your filter with the image shown below.
You can tap and hold on to the preview to see the photo without the filter applied. Release to restore the filter. If you want to focus on a specific part of the image, drag the corners of the image to adjust the reference area.
You can also tap the filter name to rename it, and then hit "Rename" to save the new title. Step 7: Once you're satisfied with your new filter, tap "Done" to finalise and save it to your camera app. Also read: CMF Phone 2 Pro by Nothing confirmed to launch in India on April 28: Know what’s more coming While creating custom filters based on an image is simple, you can't manually adjust settings like saturation or contrast through sliders in the current Samsung setup.
However, there’s an easy workaround - simply choose a pre-existing filter and modify its settings. Tap the value you want to change, such as contrast, in the bar beneath the filter’s name, and adjust the slider to your desired setting. This will apply the changes directly to your filter, so you won’t need to make adjustments each time you use it.
If you ever want to reset the filter, just tap the reset button next to its name. Also read: Android Auto unlocks gaming on your car’s display: Here’s what you need to know Samsung allows you to create up to 99 custom filters, providing ample room for experimentation with different styles and effects. While this feature is handy, be mindful that it may not work at certain camera resolutions or aspect ratios.
If the filter icon appears greyed out, lowering the camera resolution should resolve the issue. With these easy steps, you can elevate your photos by crafting filters that reflect your unique vision..