 2 weeks Ago By Julian Horsey
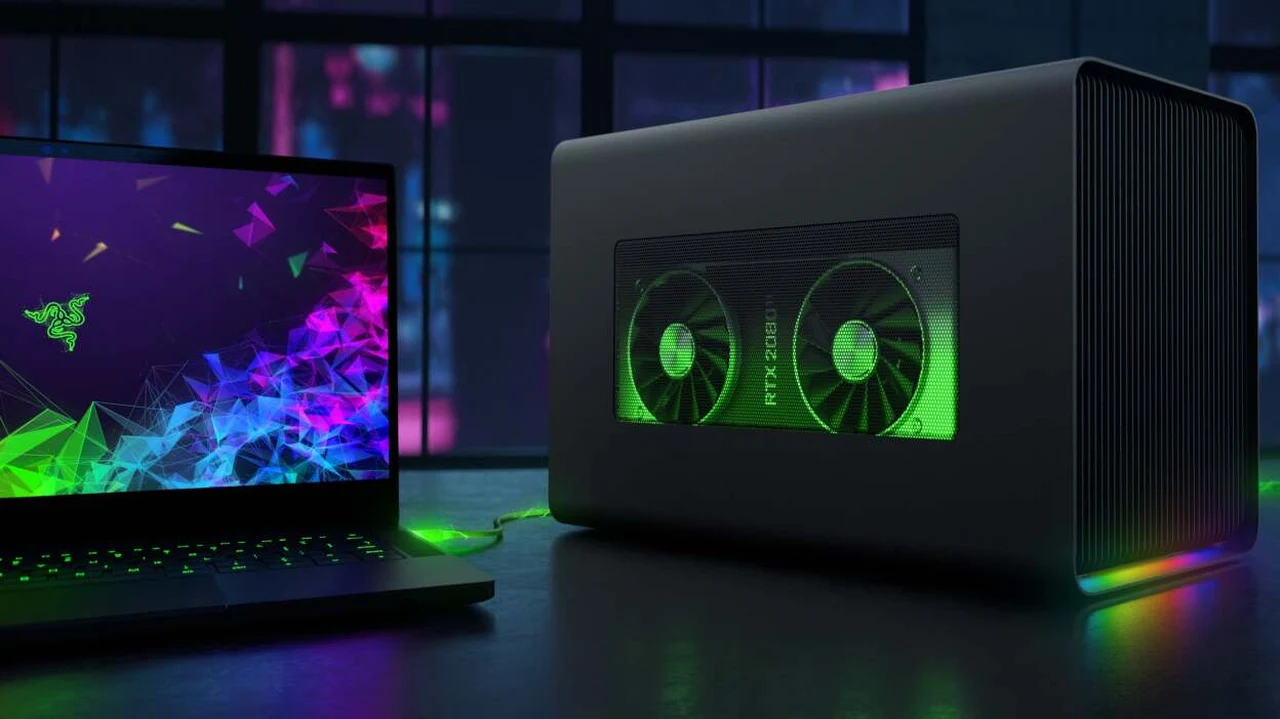
For users who want to enhance their laptop’s graphics performance, connecting an external GPU (eGPU) is an effective solution. Whether you’re a gamer looking to play the latest AAA titles, a video editor needing more power, or a developer requiring enhanced processing capabilities, an external GPU can significantly improve your system’s performance without needing to invest in a new laptop. In this guide, we’ll break down the process of connecting an external GPU and discuss the key considerations to ensure smooth integration.
An external GPU can significantly boost your laptop’s performance, but only if it supports eGPU setups through Thunderbolt 3 or 4 ports. You need a compatible eGPU enclosure that can house a desktop GPU, connected to your laptop through Thunderbolt technology. Installing the right drivers and software is crucial to ensure your eGPU functions properly with your laptop’s operating system.

Test and optimize your setup to get the best possible performance from your eGPU. Enhance your laptop’s performance by connecting an external GPU (eGPU) to significantly boost your gaming, video editing, and other graphic-intensive tasks. To get started, you need to ensure your laptop is compatible and that you have the necessary components.
First, check if your laptop has a . This is crucial because Thunderbolt 3 provides the high-speed data transfer required for an eGPU to function effectively. If your laptop lacks this port, you might need to consider other options or upgrades.
Next, you’ll need to purchase an . This enclosure houses the GPU and connects to your laptop via the Thunderbolt 3 port. Make sure the enclosure is compatible with the GPU you plan to use.
Once you have the enclosure, install the GPU into it, following the manufacturer’s instructions. After setting up the hardware, connect the eGPU enclosure to your laptop using a . Power on the enclosure and your laptop should recognize the new hardware.
You may need to install specific drivers for the GPU, which can usually be found on the manufacturer’s website. Once the drivers are installed, you can configure the settings to optimize performance. By following these steps, you can successfully connect an external GPU to your laptop, transforming it into a powerful machine capable of handling demanding applications.
Here are a selection of other articles from our extensive library of content you may find of interest on the subject of external graphics cards : One of the first steps in setting up an external GPU is choosing the right eGPU enclosure. These enclosures act as a housing for your desktop GPU, offering power, cooling, and a connection to your laptop. When selecting an enclosure, consider the following factors: Ensure the enclosure supports the desktop GPU model you plan to use.
Some enclosures have size and power limitations, so check the specifications carefully. A powerful GPU requires a substantial power supply. Most eGPU enclosures come with built-in power supplies ranging from 300W to 700W, depending on the model.
Proper ventilation and cooling are essential to maintain performance. Look for enclosures with sufficient airflow and cooling mechanisms. If you plan to upgrade your GPU in the future, choose an enclosure that will support larger and more powerful GPUs.
Not all laptops are compatible with external GPUs. Before proceeding with your setup, confirm the following: External GPUs require a Thunderbolt 3 or Thunderbolt 4 port to function. This high-speed port offers the necessary bandwidth for GPU data transfer.
If your laptop lacks this port, you won’t be able to use an eGPU. Ensure that your operating system supports eGPU functionality. Windows laptops tend to offer more comprehensive support for eGPUs than macOS systems, though macOS does support eGPUs for specific applications and configurations.
Some laptops require changes in the BIOS to enable external GPU compatibility. Check the manufacturer’s support documentation to ensure your laptop can handle eGPU setups. Connecting an eGPU to your laptop is done via Thunderbolt 3 or 4 technology.
Here’s what you need to know about this critical connection: Thunderbolt 3 and 4 offer data transfer speeds up to 40 Gbps, which is vital for the performance of external GPUs. This bandwidth ensures that the GPU can communicate with the laptop without significant latency or bottlenecking. Use high-quality, certified Thunderbolt cables for a reliable connection.
Poor-quality cables can reduce performance and cause connection drops. Some laptops support hot-swapping external GPUs, meaning you can connect and disconnect them without restarting the system. However, it’s safer to shut down your laptop before making any connections.
Once your eGPU is physically connected, the next step is to ensure your system recognizes the device and allows it to function correctly. Follow these steps: Visit the GPU manufacturer’s website (e.g.
, NVIDIA or AMD) and download the latest drivers for your specific GPU model. This ensures optimal performance and compatibility. Some eGPU enclosures come with proprietary software or require third-party apps to manage connections and performance settings.
Be sure to install any recommended software that comes with your enclosure. After the drivers and software are installed, you may need to adjust your display settings to ensure that your laptop uses the external GPU for rendering and processing, particularly in graphically demanding applications. Once your external GPU is set up and recognized by your system, it’s time to test the performance and make any necessary optimizations.
Consider the following steps: Test your eGPU’s performance using benchmarking software like 3DMark or Unigine Heaven. This will help you identify if the eGPU is working as expected and provide data on how much of a performance boost it provides. Keep an eye on your eGPU’s temperature during extended gaming or rendering sessions.
If temperatures are too high, consider additional cooling solutions or adjusting your enclosure’s fan settings. Many games and applications allow you to select which GPU to use. Ensure that your external GPU is selected in these settings for the best performance.
As with any GPU, it’s important to keep your drivers up to date to benefit from performance improvements and new features. Connecting an external GPU to your laptop is a highly effective way to boost your laptop’s graphics capabilities and extend its lifespan for demanding tasks. By carefully selecting the right eGPU enclosure, ensuring your laptop’s compatibility, and following the proper setup steps, you can enjoy desktop-level performance on your portable device.
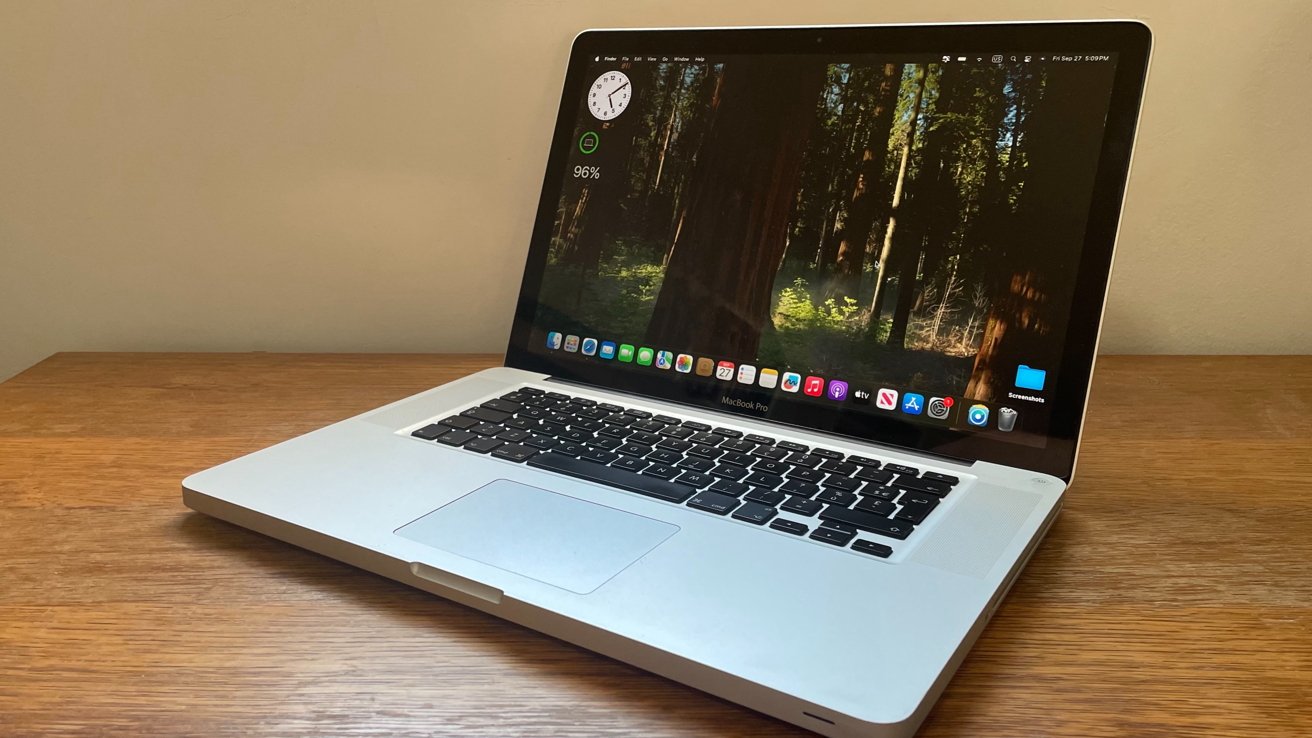
Take the time to test and optimize your setup to get the most out of your external GPU investment. An eGPU lets you do all of the following on your Mac: Accelerate apps and games that use Metal, OpenGL and OpenCL Connect additional external monitors and displays Use virtual reality headsets plugged into the eGPU Charge your MacBook Pro while using the eGPU Use an eGPU with your MacBook Pro while its built-in display is closed Connect an eGPU while a user is logged in Connect more than one eGPU using the multiple Thunderbolt 3 (USB-C) ports on your Mac2 Use the menu bar itemNo alt supplied for Image to disconnect the eGPU safely If you are interested in connecting an external graphics card to your Mac jump over to the for more information on how to do this..